AD - gifted
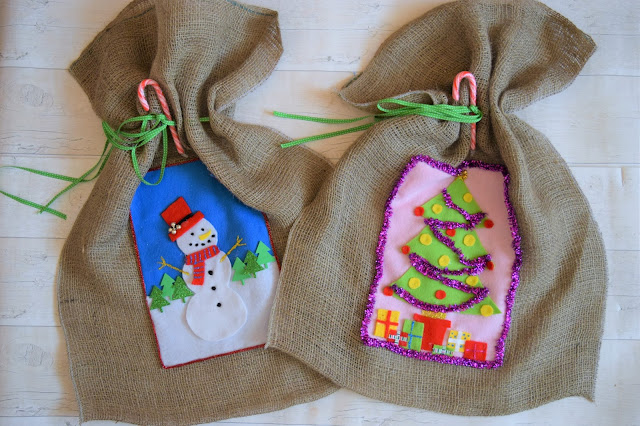
This year I've been DIYing quite a lot and having the best of fun with it! I've got a couple of my Christmassy crafts to show you guys in the next couple of weeks but I'll start with my Christmas Sack Stockings I was challenged to make by Turtle Mat *! They provided me with a bunch of things to make these and I'd love to show you how I got there.



After that, I decided to put the ribbon through the top to make sure it tied up the way I wanted it to. I knew I wanted quite a bit of overhang and that authentic burlap sack look. It gave me a rough idea of where my design would go after too.
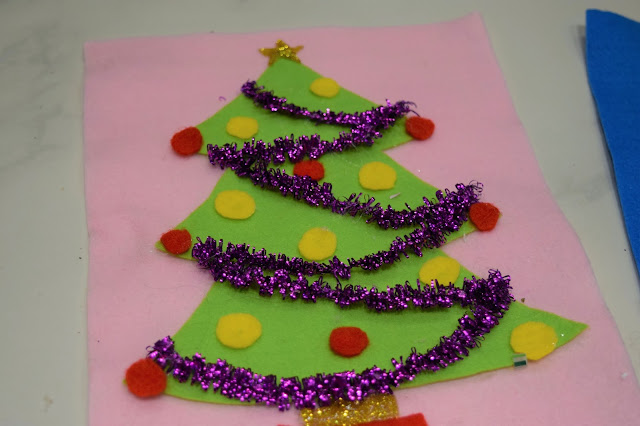
Looking at the materials I had and thinking about my designs, I decided I wanted a snowman on one bag and for the second design I decided on a Christmas Tree. I did use these little foam Christmas Trees I had at home already to add some extra detail to the background which I think gave it a cute final touch.

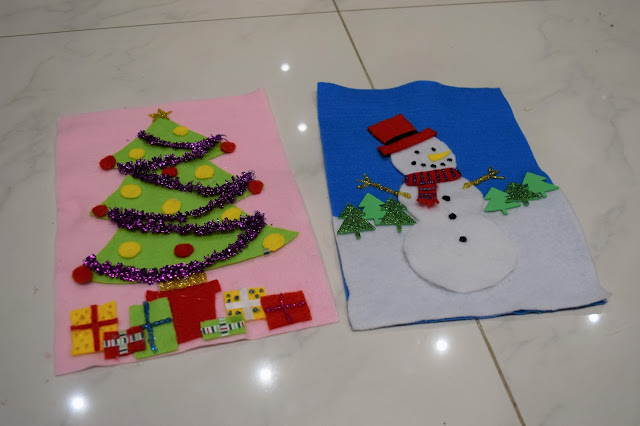


Ta-dah! So this is was the finished product looking pretty awesome if I do say so myself. I can't wait to put them into use at Christmas, keeping gifts together and looking cute under the tree! I absolutely love that they jingle with the little bells too; I feel like it gives the bags a little magic. And though they are simple, they shout out Christmas and fun! They've also got that homemade touch, you know?
Thanks to Turtle Mat for challenging me to make these stockings, and I hope you guys like them too!
Let me know, have you DIYed anything for Christmas this year? Share your creations with me!


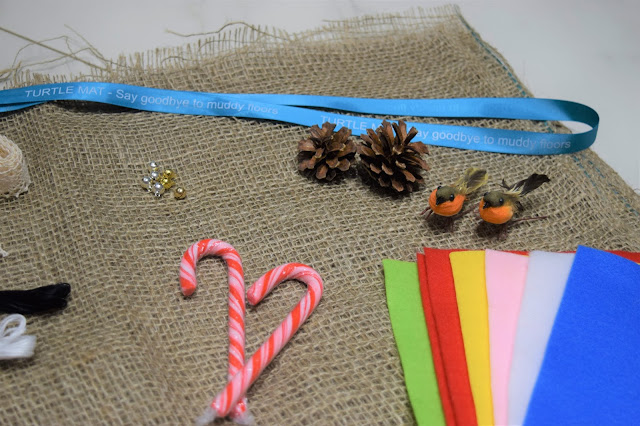
Turtle Mat sent me a huge box of supplies and I was so excited I started on it! I couldn't believe how much burlap material I had so instead of making one huge sack/stocking, I decided to make two. One for me and one for John. It would look adorable under out Christmas Tree this year!

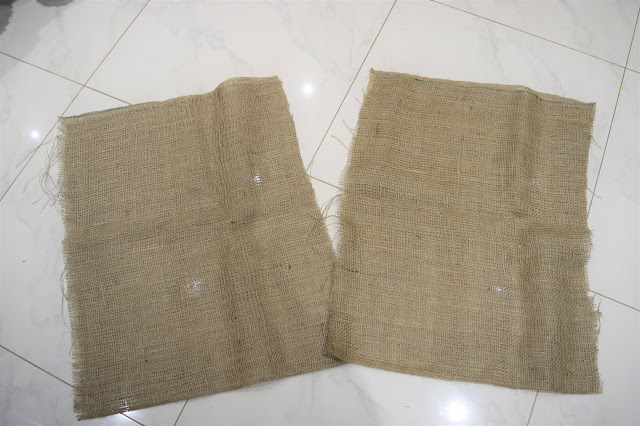
So I started with the base and decided to make the sacks before deciding on how I would decorate it. I wanted to get an idea of the shape and size first. I cut the sack in half making sure I had something like two long strips that I could fold in half into a bag shape.


Next up was sewing the bag's sides together and I was ready to get a needle and thread out when my mum offered to get her over-locker machine out and sew up the sides for me. I didn't know what it would do because I'd never seen it at work, so when I saw it cutting the sides straight and sewing the hem ever so neatly, I got really excited! I knew it would last ages with a well sewn up side.

After that, I decided to put the ribbon through the top to make sure it tied up the way I wanted it to. I knew I wanted quite a bit of overhang and that authentic burlap sack look. It gave me a rough idea of where my design would go after too.
Looking at the materials I had and thinking about my designs, I decided I wanted a snowman on one bag and for the second design I decided on a Christmas Tree. I did use these little foam Christmas Trees I had at home already to add some extra detail to the background which I think gave it a cute final touch.


Once I had my designs in mind, I hot glued it altogether for durability and strength and made sure they were at least almost done before finishing up for the night. I must have spent about 3 hours working on these. I lost myself in this activity because I was having so much fun with it! I tweaked slightly too just before I stuck the onto the bags adding bells to both and a border on each too. I absolutely love them because they're simple but so Christmassy! As for who's is who's: John's will be the snowman and mine will be the Christmas tree.


Ta-dah! So this is was the finished product looking pretty awesome if I do say so myself. I can't wait to put them into use at Christmas, keeping gifts together and looking cute under the tree! I absolutely love that they jingle with the little bells too; I feel like it gives the bags a little magic. And though they are simple, they shout out Christmas and fun! They've also got that homemade touch, you know?
Thanks to Turtle Mat for challenging me to make these stockings, and I hope you guys like them too!
Let me know, have you DIYed anything for Christmas this year? Share your creations with me!


No comments
Post a Comment